Watch the WordPress font replacement Video tutorial above.
Cufon text is an alternative to web-safe fonts that converts font paths into a vector form, making your typography viewable across different browsers and different computers, even if the viewer doesn’t have the font installed to their desktop. It’s also more search friendly than using images, which can’t be crawled by search spiders.
Another great advantage is that using cufon is easy for clients or content creators (people other than yourself) to add the unique cufon text, because you can set your WordPress site or blog to replace elements such as heading tags with cufon automatically.
Essentially, cufon is a fast, flexible, and universal open-source solution to including the typography that you want on your WordPress website.
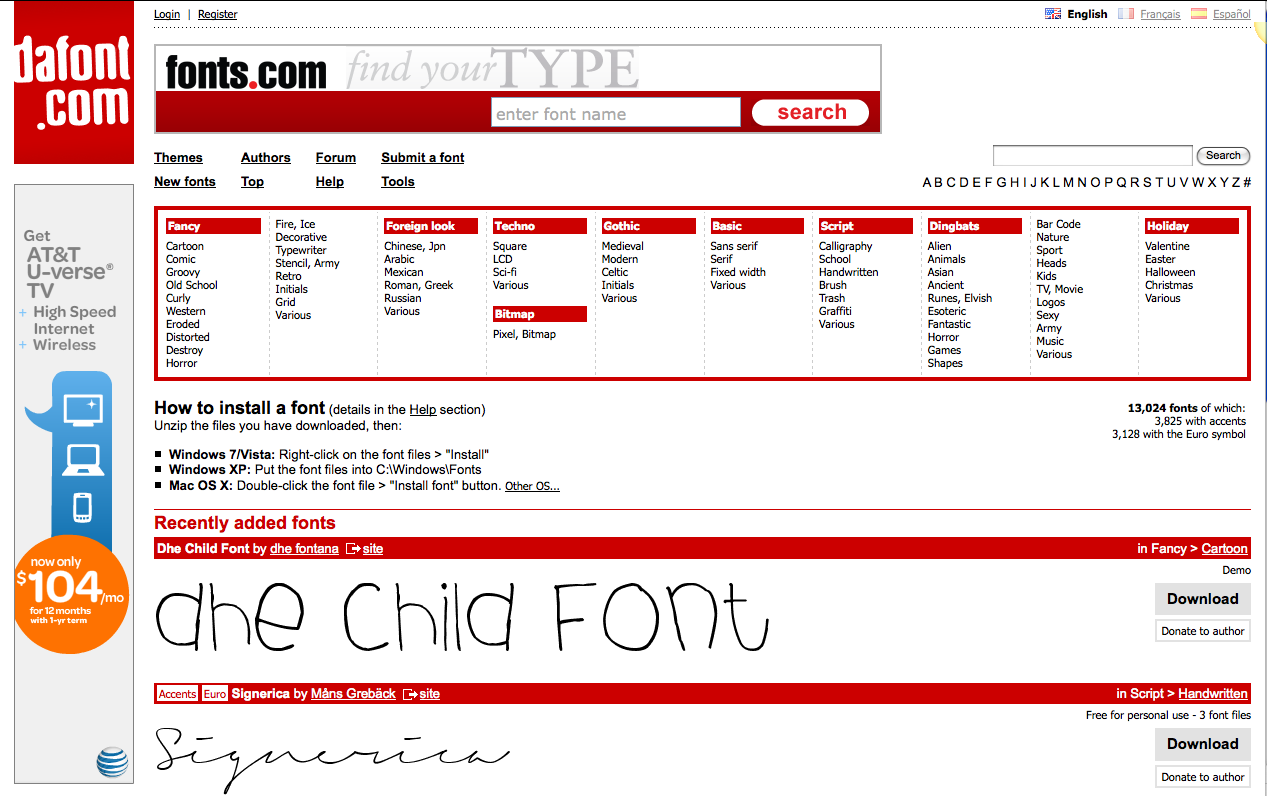
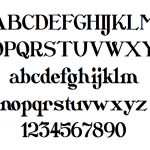
- First, you’ll want to find the unique font that you’d like to add to your website. A good website for finding fonts that are open-source and not protected by commercial licenses is www.dafont.com. Choose a font you like, and click the “Download” button to the right of the font display. This will download a .zip file to your desktop, which you can save and open.
- Next, do a simple search for “cufon” in Google. The first result will be a cufon font generator. Basically, all you have to do is upload your font file and the generator will create a Javascript file that you can upload to your WordPress website to replace your normal web-safe fonts with your unique font. Upload the regular, bold, and italic versions of your font, or just the regular version if that’s all you plan to use.
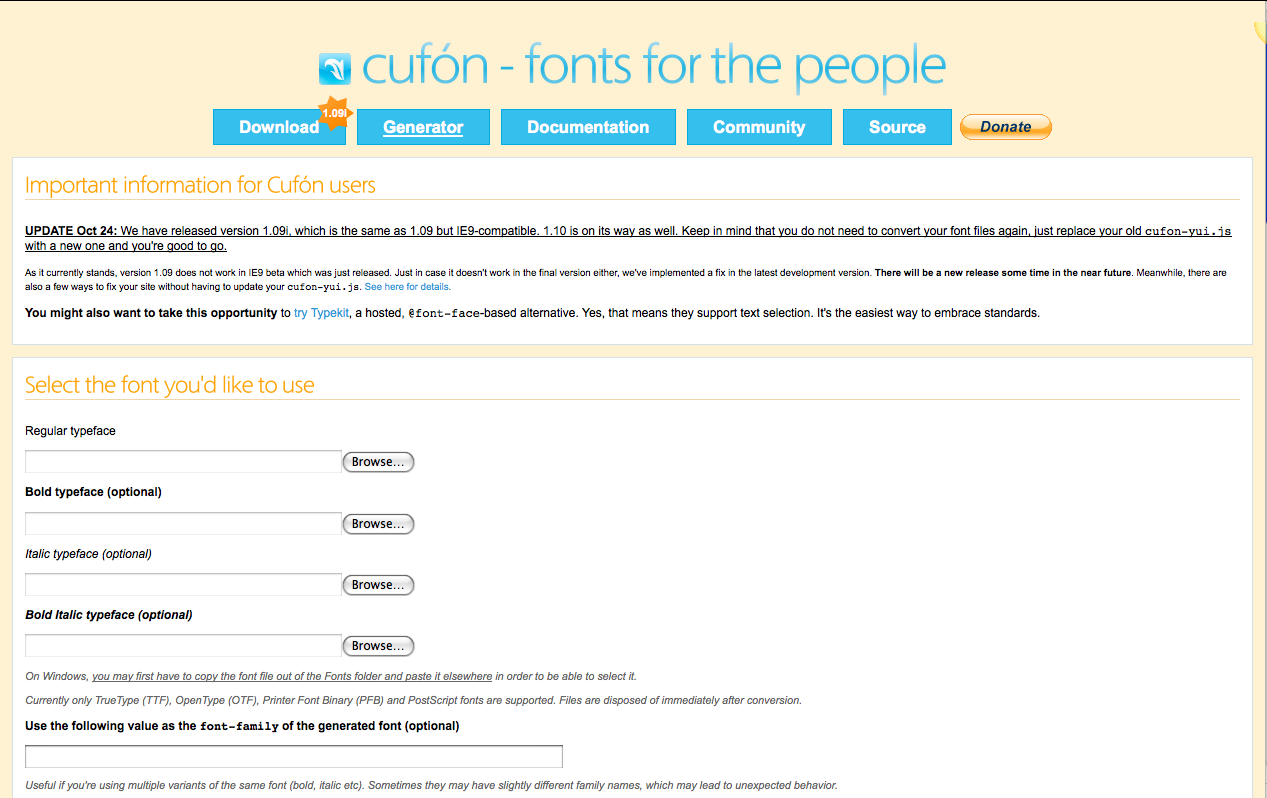 Click the box next to “The EULAs of these fonts allow Web Embedding,” for the “Include Glyphs” area select “All,” for the security field type in your domain, and make sure all of the boxes are selected under “Performance & File Size” and “Terms.” Click the “Let’s do this!” button and the website will download your very own Javascript file for your font that you can upload to your WordPress website.
 - Users of WordPress are quite familiar with the fact that WordPress takes everything related to web programming and makes it much easier on the front-end user.
This is another case in point: you can install and activate the “wp-cufon” plugin and it will add all of the necessary changes to your stylesheet automatically to replace your fonts with your cufon text. Pretty cool, huh? Ease of use is one of the many reasons we are enamored with WordPress. - Now that you have the plugin activated, go into your FTP software and create a directory within the yoursite.com/wp-content/plugins/ folder and name it fonts. Do NOT create the directory in the wp-cufon directory – add the “fonts” directory in the same directory where all of your other plugins are located.
- Now go back to your WordPress dashboard, and under “Appearance” select “Cufon.” You should now see the font or fonts you’ve added under Your Fonts. Congratulations, you’re almost done!
- Click on your font and it will open up a new window. Hit Apple + F (or control + F for Windows users), and search for “font-family.” Copy the name of your font within the quotation marks, and then return to the WP-Cufon menu.
- See the field that says “Your Cufón replacement-code?” Add the font name within the single quotation marks after “font-family.” Where it says ‘replace,’ add all of the heading tags that you want to replace with your new unique font family.
Hit “Save Settings” on the bottom of the page and that’s it, you’re done! Just like that, you can add whatever open-source custom fonts that your heart desires within ten minutes or less.

Danny Flood is the co-founder of LavaLink, and the brainchild behind this website. He has been an online marketing consultant for hundreds of small businesses and entrepreneurs, and is a frequent speaker on wordpress design and web marketing topics.
Connect